What is a hair transition AI video?
Short answer: a hair transition AI video turns a single portrait into a short before and after reveal, with the hairstyle changing during a small head movement. You begin with the hair in your photo, make a gentle turn or swish, and finish with longer hair, soft curls or a warm copper shade. The face stays the reference for the scene while the hair supplies the visual surprise.
This page offers three preset transformations rather than a long list of hairstyles to configure. Each one concentrates on a single reveal in a continuous shot. There are no scissors, dye brushes or hands passing over the face. You do not need to film yourself or prepare an after photo. The final hairstyle is generated from the chosen preset, so the result is an imagined look rather than proof of a real salon service.
TapToVideo is an independent tool and is not affiliated with CapCut or Dreamina. These scenes are original presets and do not copy another tool's template footage.
Create your hairstyle reveal
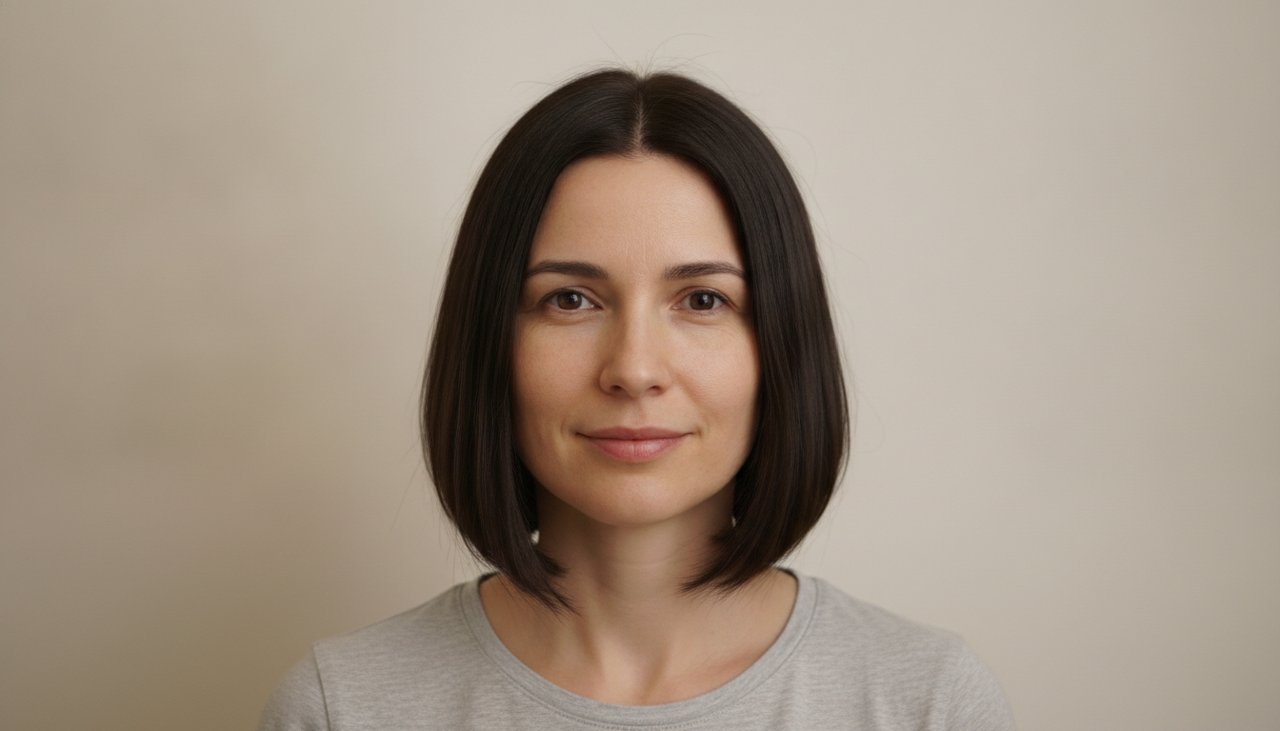
Choose a portrait with your hair loose and visible. The opening scene changes the clothing and background but keeps the starting hairstyle, so the movement has a clear before state. The new hair appears during the animation, not in the opening still. If the starting photo already has a look close to the selected result, pick another preset for a more noticeable contrast.
- Upload one clear adult portrait of yourself or someone who agrees to the transformation. Include the full head and both shoulders.
- Choose Long hair reveal, Curl flip or Copper color switch. You do not need to write a prompt or upload a second hairstyle reference.
- Complete the consent and security checks, then create the video. Watch the preview where your region and available capacity support it.
- Check the hairline, face and final color through the whole clip. A pleasing final frame does not always mean the transition itself is clean.
- Use the credit option for an HD download. If you want a soundtrack, add your own permitted audio to a video made with credits.
Three transformations with different kinds of contrast
Long hair reveal places you in a bright, minimal salon with a charcoal blouse. A gentle turn brings the hair below the shoulders while keeping its original color. The change is easiest to read when your starting hair is shorter. The camera leaves space below the shoulders so the longer shape has somewhere to settle. You are not shown getting a haircut or extensions applied.
Curl flip uses a blue studio background and a cream blouse. A small tilt and return turns the starting hair into soft, defined shoulder length curls. The motion is a light swish rather than an aggressive head whip. If your input already has similar curls, the change may be subtle; use this preset when you want to explore a different silhouette or texture in a playful clip.
Copper color switch puts the focus on color. The hair keeps its starting length and texture while changing to a warm copper shade during one turn. Neutral lighting and a grey wall help keep the reveal readable. The preset asks for one color change, not a rainbow sequence, so there is time to see the result before the clip ends.
Hair changes while your expression stays familiar
A useful transformation keeps enough of you constant that the new hair becomes the clear difference. The presets ask for the same face, age, skin tone and body throughout the animation. Clothing is chosen in the opening scene and then stays the same. The camera remains steady, with no sudden zoom or orbit that would distract from the hair movement.
AI can still alter details that were supposed to stay fixed. A smile may shift, an ear can be obscured, or the hairline may move slightly during the reveal. These are reasons to review the clip, not features to present as accurate beauty advice. If the result looks like a different person, try an evenly lit photo with fewer accessories and a more neutral starting expression.
Prepare a photo with room for the new hair
Leave space above the head and around both sides of the hairstyle. A tight crop can cut off the outline that needs to change, especially when the final hair is fuller or longer. Show the neck and shoulders as well. Remove hats and avoid a hand resting against the cheek. Hair pulled tightly behind the head gives less visible shape to work from than hair worn loose.
Choose light that separates your hair from the background. Dark hair against a very dark wall can hide the edges, while a strong colored light can make a copper reveal difficult to judge. A plain indoor wall and soft daylight are enough. Keep the file clear and avoid heavy filters. If you are comparing all three presets, use the same starting photo so the different results are easier to assess.
Use the reveal as a creative idea
You might use the long hair scene for a playful alternate look, the curls for an outfit mood, or the copper version for a color experiment. Give each post one clear purpose instead of asking a short clip to show every possible hairstyle. A caption can invite friends to choose a favorite, while the video stays focused on the turn and the finished shape.
If you share it as inspiration with a stylist, explain that the image is generated. The clip cannot establish how a real cut, curl pattern or dye would behave on your own hair. It also does not measure hair condition or predict the result of a salon treatment. Keep a real current photograph alongside the generated idea so the conversation starts from what your hair actually looks like.
Music, captions and framing for your post
The transformation does not require a particular song. It is designed without singing, talking or lip sync, and we do not provide a copyrighted recording. For a video made with credits, you can add your own permitted audio through the song mixer. Watch where the hair settles before selecting the audio start, so a musical accent can support the reveal rather than hide it.
The generated shot is landscape. When placing it in a vertical canvas, leave enough room for the widest hair movement and the final length. Cropping too closely can remove the very change you want viewers to see. Add your caption outside the moving hair, or use the empty space above or below the clip. The scene itself contains no generated text or labels, leaving the appearance uncluttered.
Review the movement, not just the final hairstyle
Watch for hair merging with a collar, curls moving as one solid shape, or color spilling onto skin. Check that the original hairstyle is visible at the beginning and the new one remains at the end. If the transformation happens too early, too slowly or not at all, the output has not fully matched the intended effect even if the final portrait looks attractive.
The presets ask for one small movement and one transformation within a short clip. They avoid full spins, mirrors, crowded rooms and tools near the face to reduce competing actions. That design does not guarantee a perfect result on every photo. Use the preview to decide whether the reveal works for you, and share only a result you are comfortable identifying as an AI hair experiment. Only use permitted portraits; celebrity photos and nonconsensual makeovers are not allowed.
What a video costs
The sample video on this page is there to watch before you decide. A 480p clip with 4 seconds costs 30 credits, and an HD clip at 720p with 8 seconds costs 80 credits. Videos made with credits have no watermark and download as an MP4.
To make one, create an account and pick a credit pack. You can buy one-time credit packs, no subscription. The smallest is 1,000 credits for $9.90, enough for about 33 videos of this effect. Credits never expire and are only taken when a video starts; if the render fails, they return to your balance automatically.
What happens to your photo
Your photo is sent to the AI model only to create your video. Uploaded photos are deleted after 24 hours, and we never publish your photos or videos anywhere. The finished clip is yours to download as an MP4 file.